 Transcripts
How to automatically record and transcribe meetings on a Mac
Transcripts can start recording when it detects a supported call on your Mac, show the words as people speak, and save a transcript with a summary and action items when the call ends. Processing happens on your device. This guide walks through the setup and the short test to do before relying on it in a meeting.
Automatic recording is a Mac feature. The iPhone and iPad apps can record in the room and share recordings with your Mac through a folder you choose in iCloud Drive.
Choose your Mac edition
Get Transcripts from the App Store or the direct download. Install one edition at a time so two copies don't try to record the same call.
Both editions record and transcribe meetings. The direct download also supports custom scripts and the Handoff processing pipeline. The App Store manages its own updates and asks before recording a detected call on a new installation. Compare the editions.
Set up recording and storage
Open Transcripts and look for its icon in the Mac menu bar. Choose where you want recordings and notes saved. Use a local folder if you want the files to stay on this Mac, or a shared iCloud Drive folder if you want them on your other Apple devices too. On-device processing and cloud file sync are separate choices: a folder in iCloud will sync through Apple.
Grant microphone and system-audio access when macOS asks. The microphone captures your voice; system audio captures the other side of a call. Without both, a recording can be missing one side even though its timer is running.
Enable automatic recording
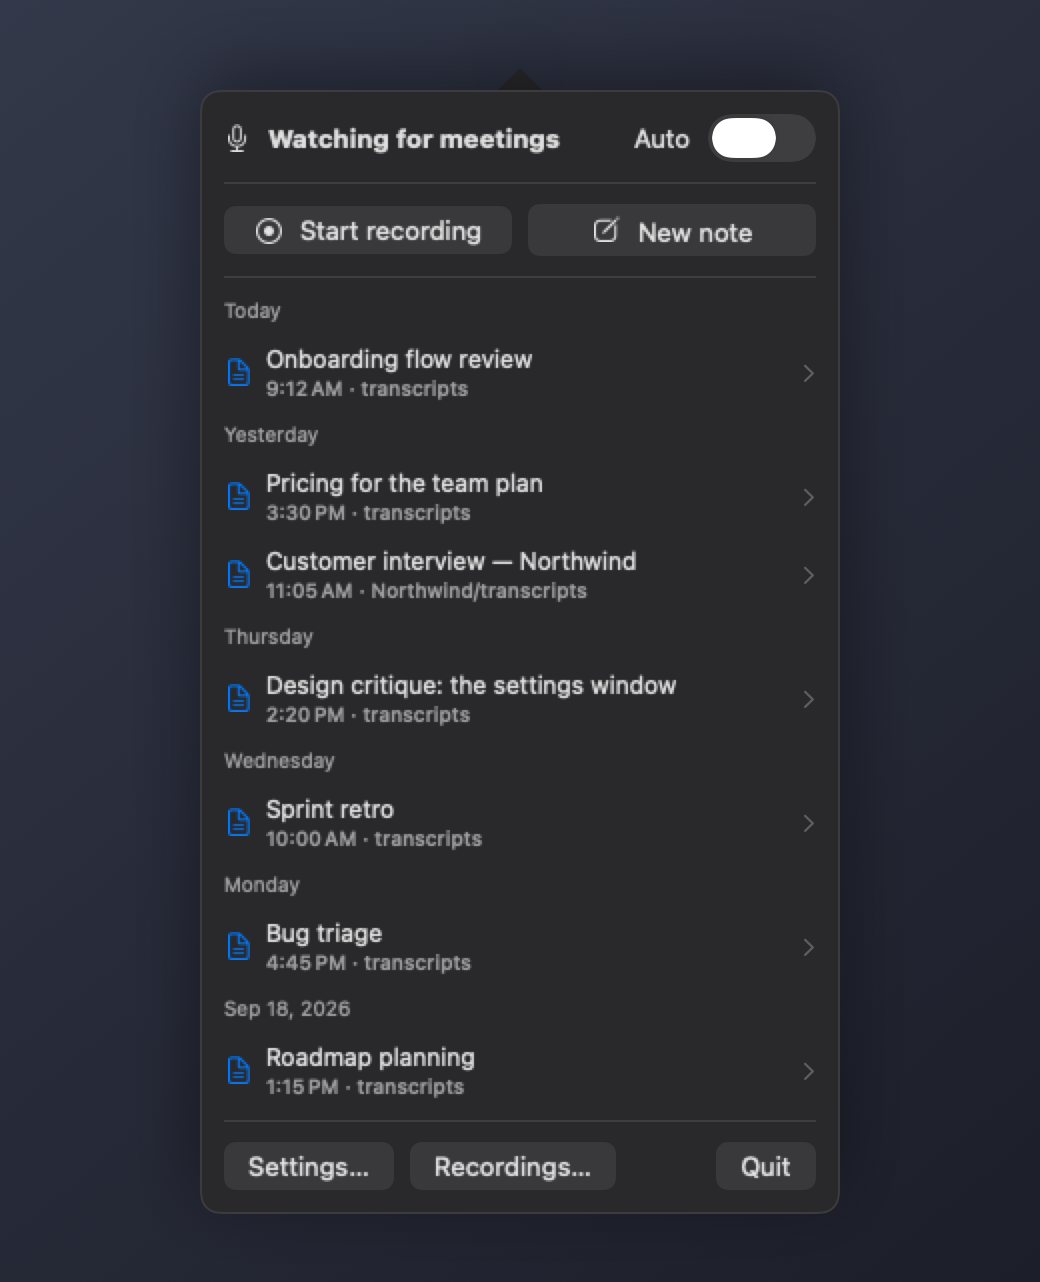
In Settings, open General and choose the automatic recording behavior you want. Keep Auto enabled in the menu. Transcripts watches for supported Teams, Zoom, Webex and Google Meet calls. Detection depends on the call app and its microphone activity, so test the combination you actually use.
In ask-first mode, confirm the notification before recording begins. Automatic mode starts recording when the supported call is detected. Choose the behavior that fits your meetings and obtain any required participant permission before recording. Recording controls and consent mode.
Test both sides before your first meeting
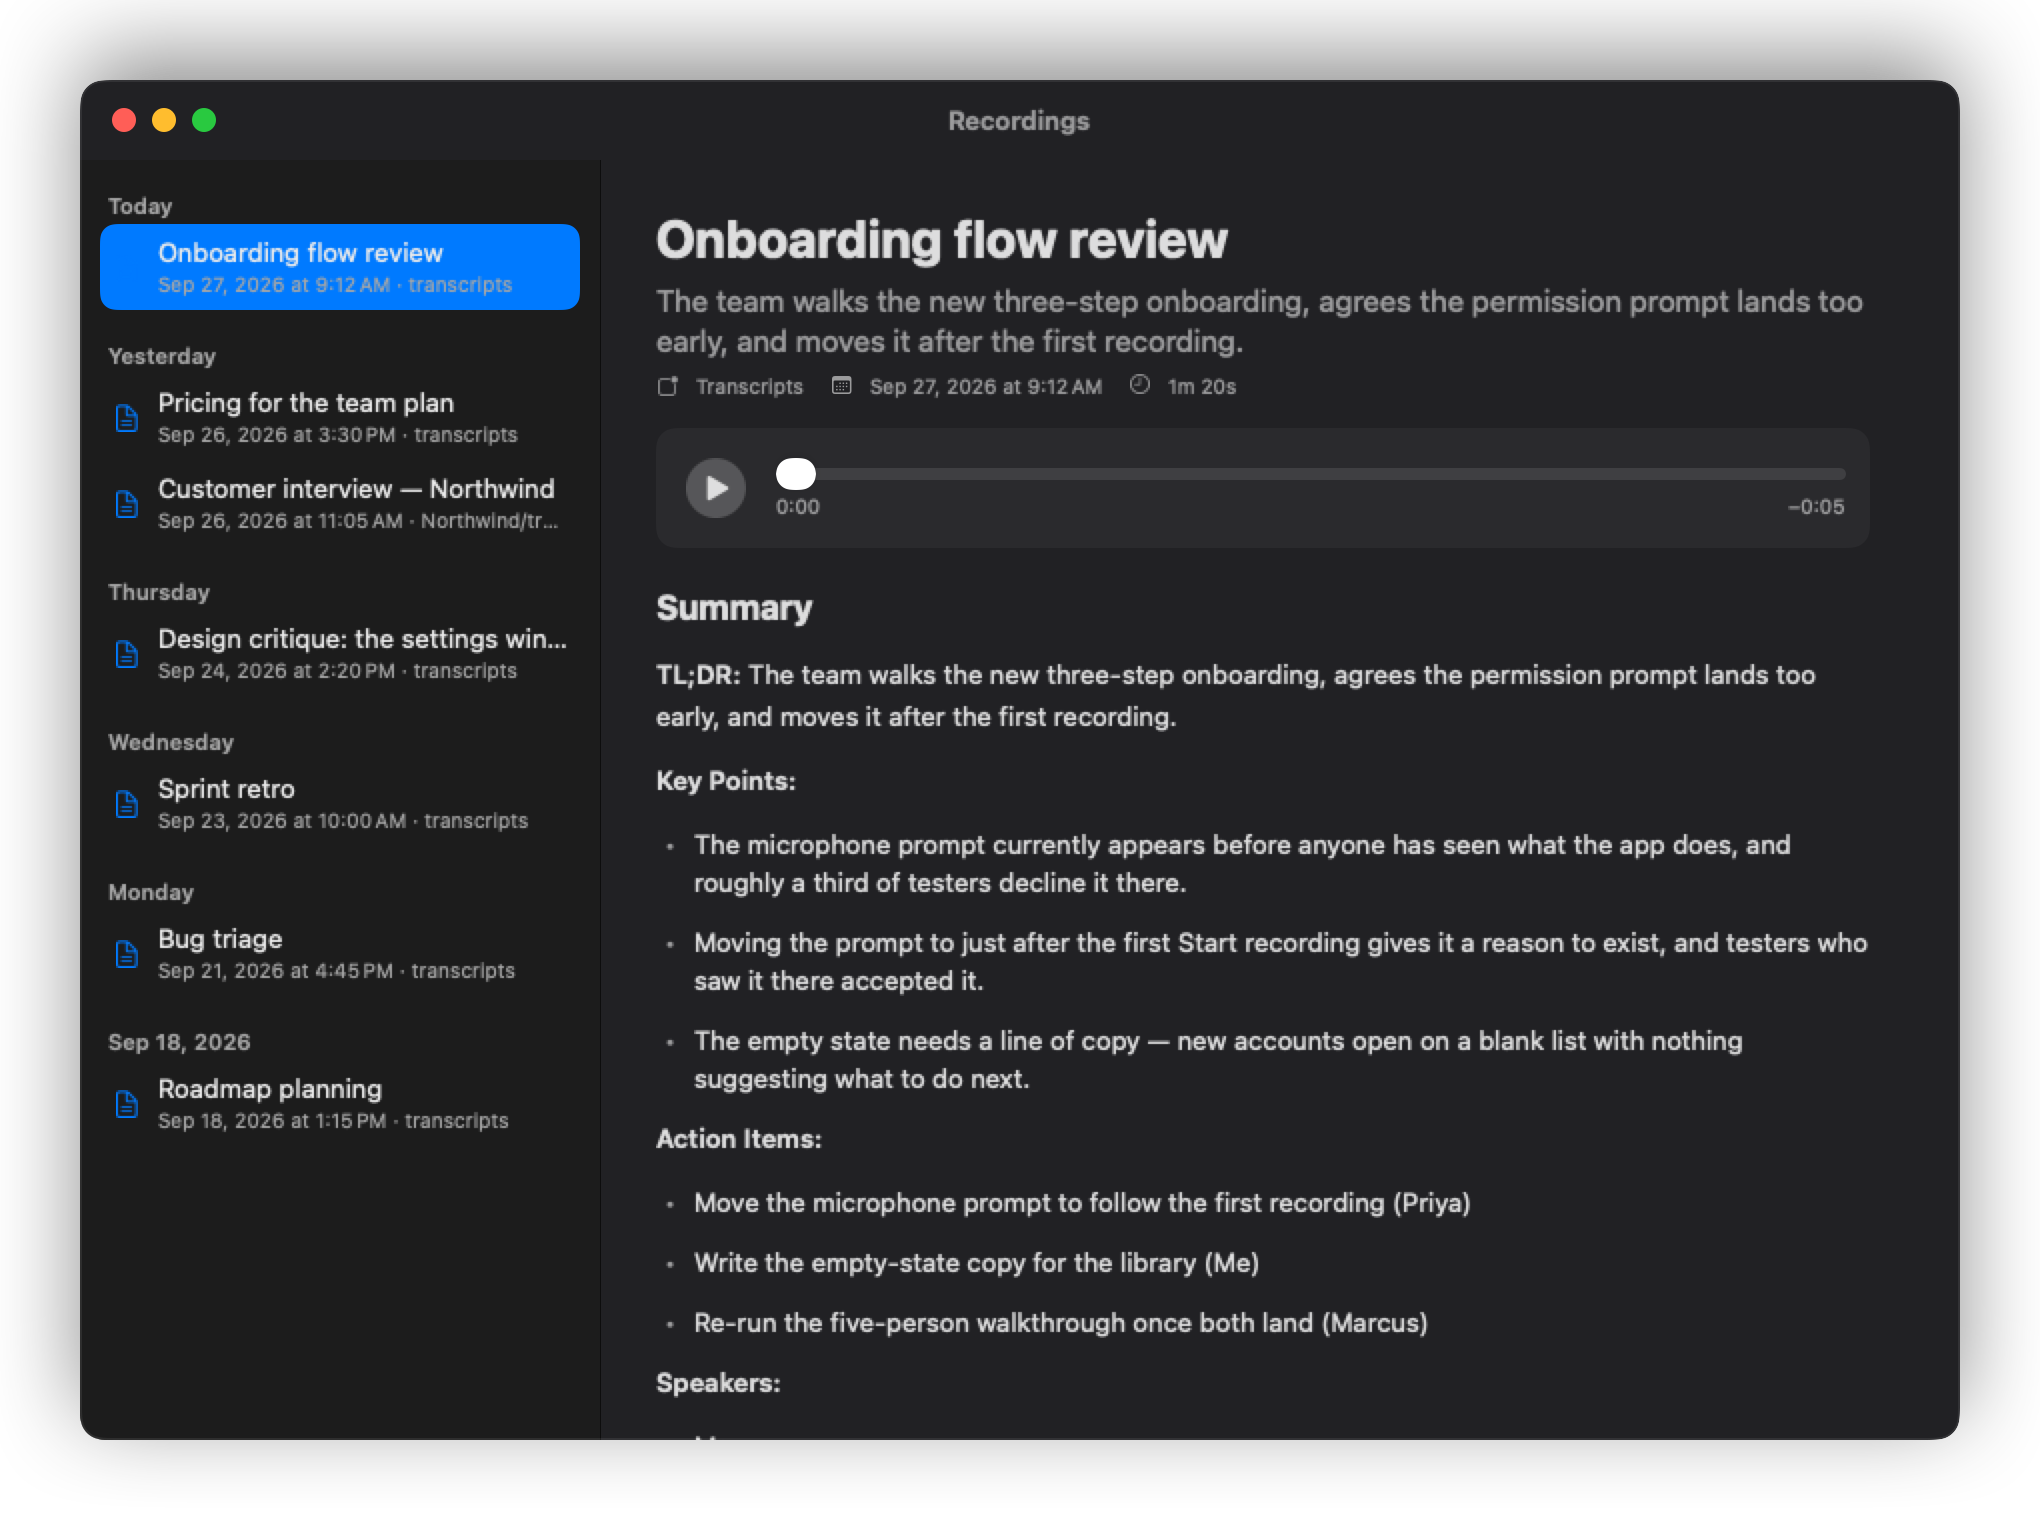
Make a short test call with someone who knows you're recording. Say a sentence, then have them say one. Check the live transcript for both voices. Stop the test and play it back from the Recordings window.
A moving audio meter isn't enough: the other person's audio can keep it moving while your own microphone is muted or disconnected. If only one voice appears, check microphone selection and system-audio permission before the next call. If automatic detection doesn't start, use Start recording from the menu and check the recording guide.
Finish with notes you can use
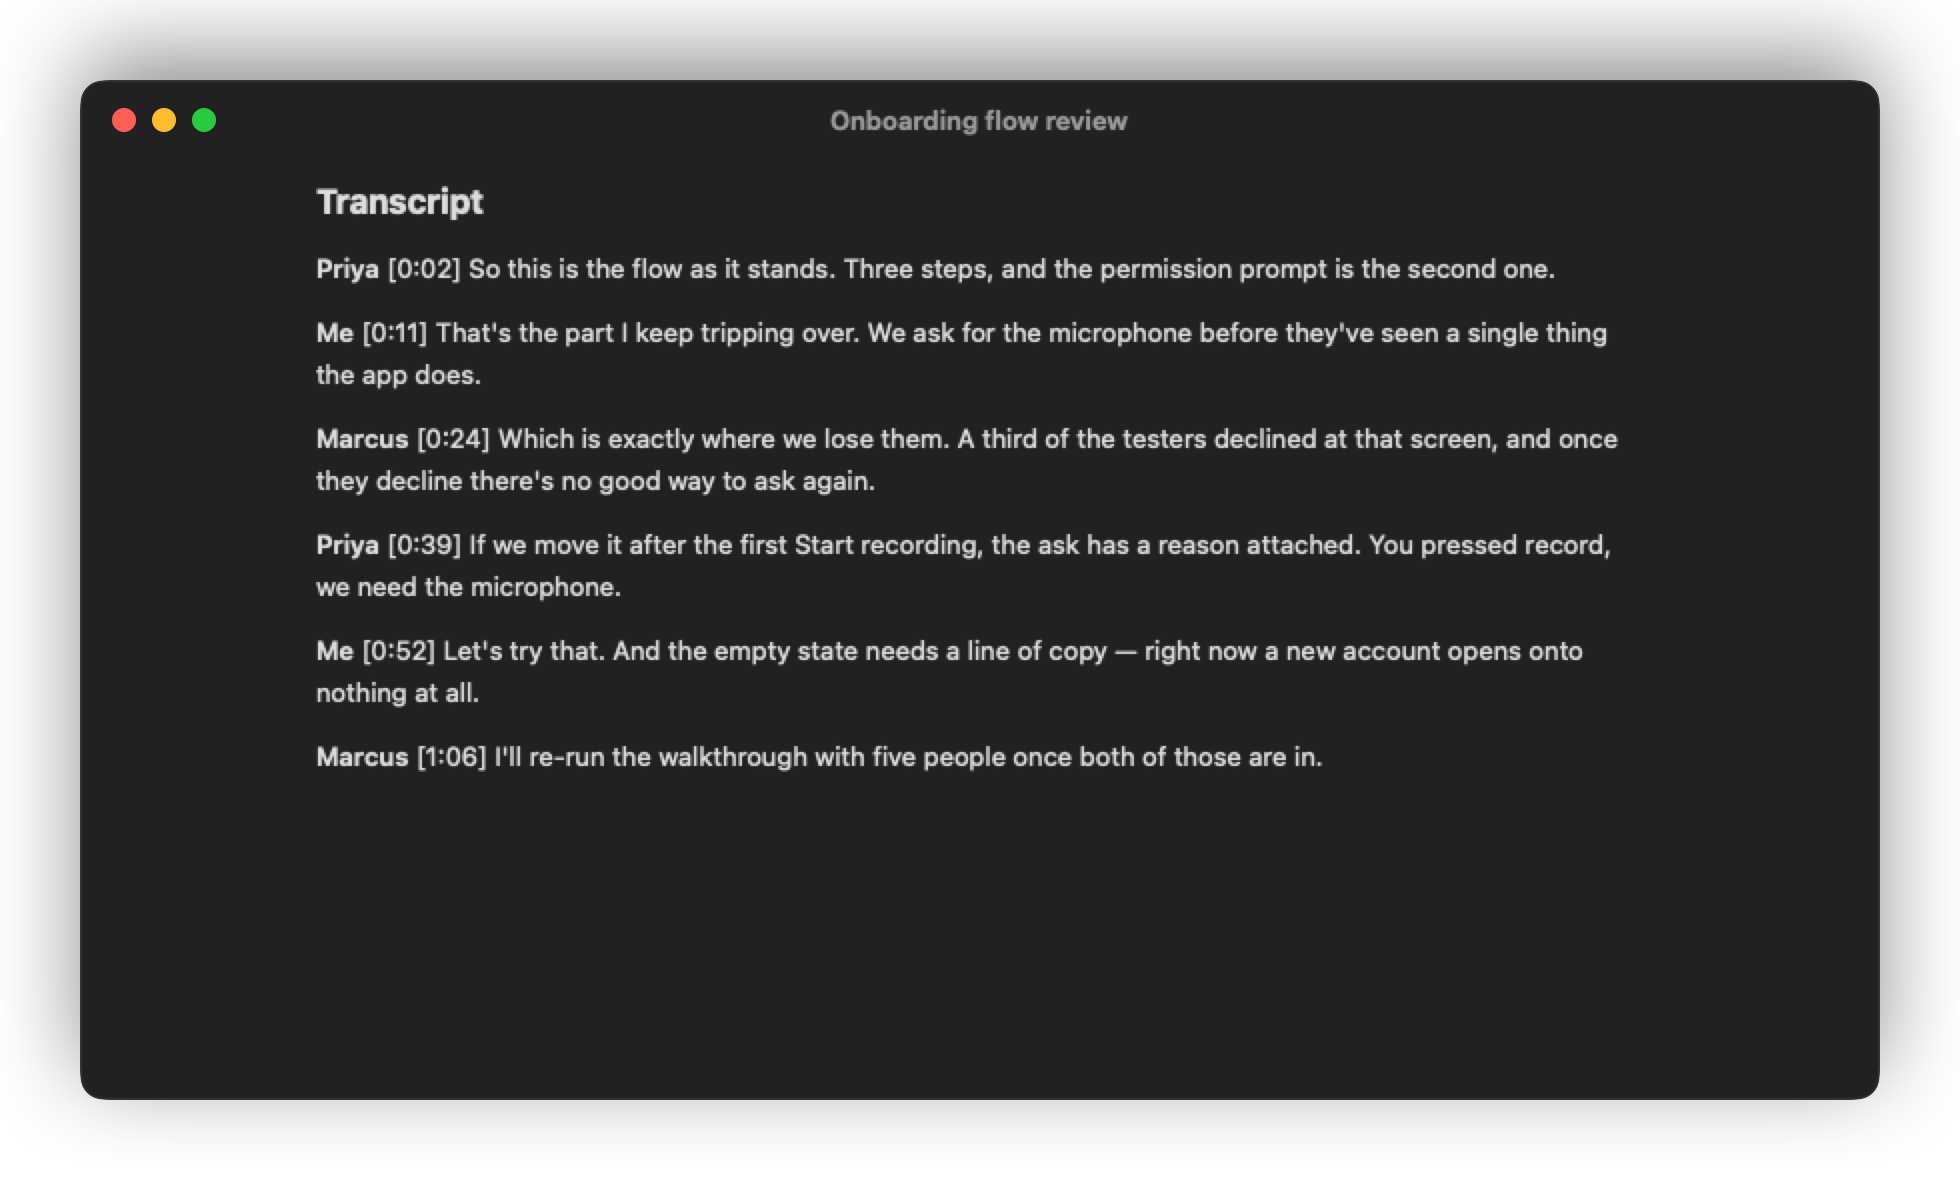
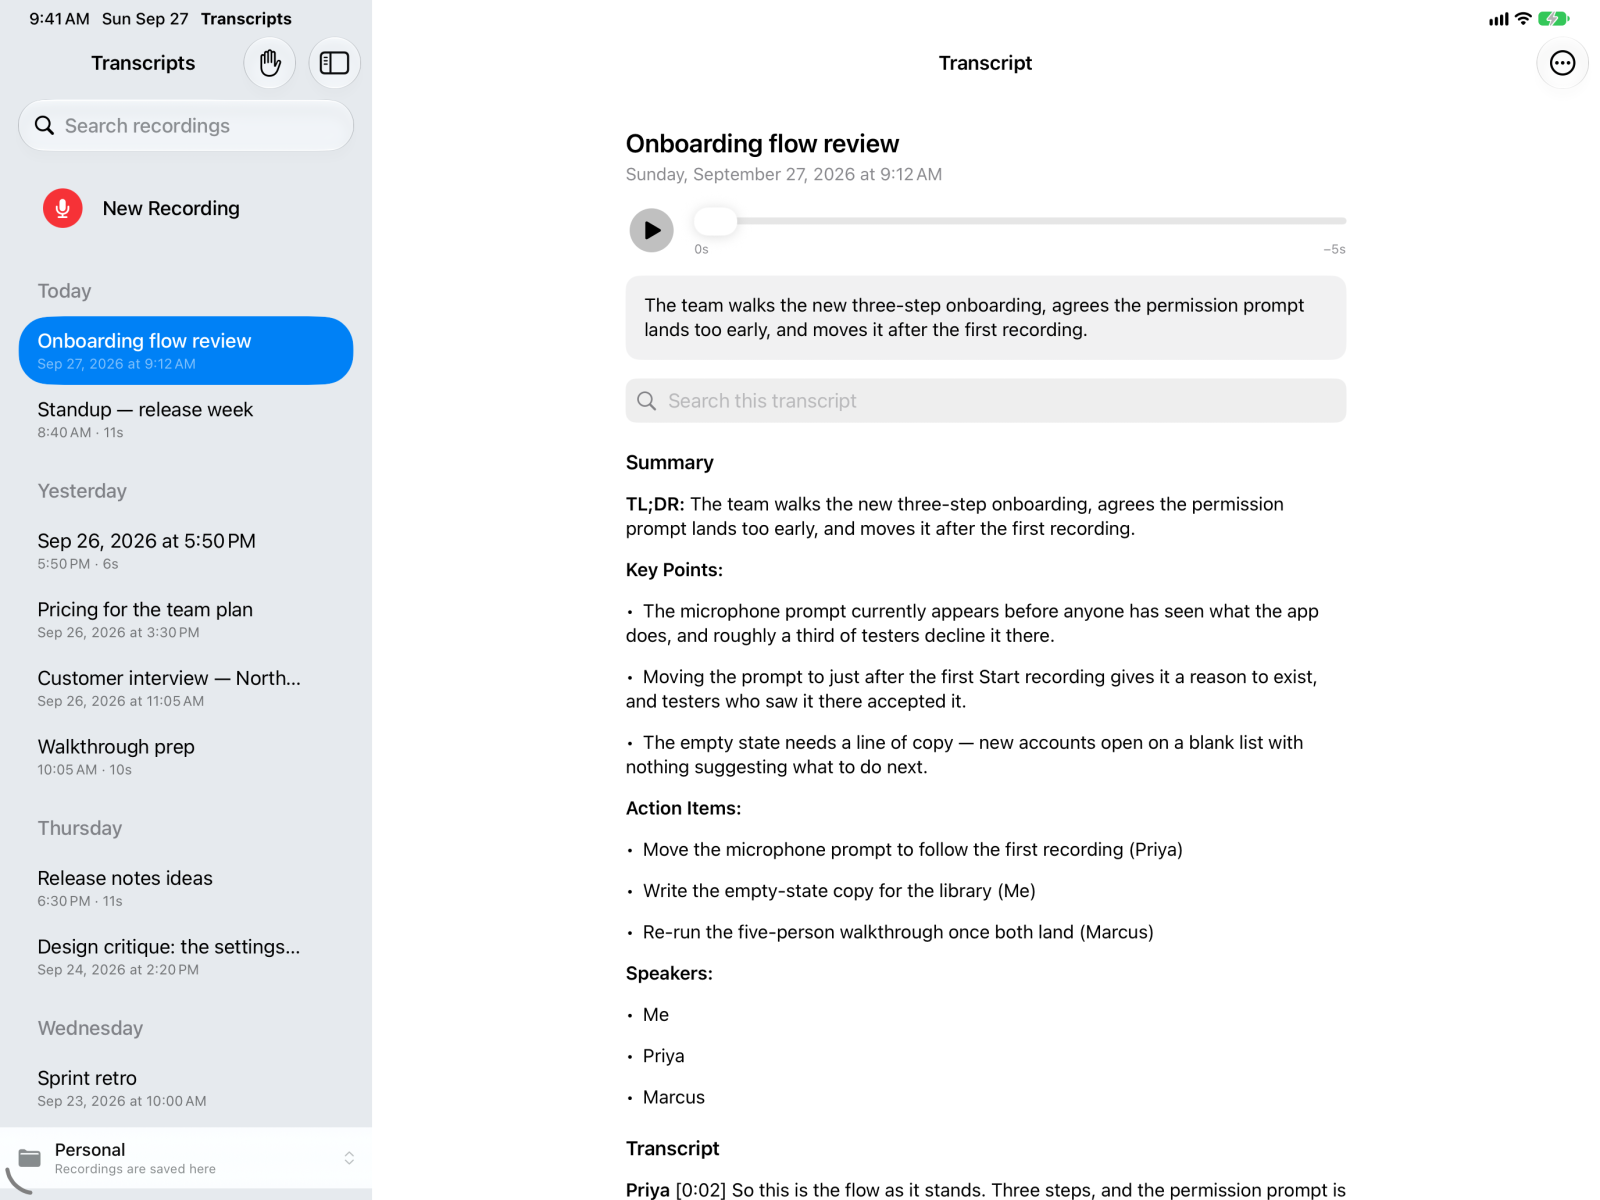
When the call ends, Transcripts stops the automatic recording and processes it. Open the recording to read the transcript, review speaker names, and check the summary and action items. Processing time depends on the recording and your Mac; it isn't instantaneous.
Check important names, numbers and commitments against the audio before sharing notes. Transcription and generated summaries can make mistakes. Summary options depend on your Mac and selected model; see Settings.
The notes are saved as Markdown in the destination you choose. You can keep them beside a project, open them in your editor, or use an Obsidian folder. The direct Mac edition can run a script after processing if your workflow needs one.
Pick up the recording on iPhone or iPad
Choose the same iCloud Drive folder in Transcripts on your devices. The mobile apps are useful for conversations in the room and voice notes; they aren't a way to automatically record a phone call on the same iPhone. Set up the iPhone, iPad and Mac workflow.
Try it on a short call
Download Transcripts, choose a destination, and test both voices before your next full meeting. If something doesn't work, report the issue with your app version, macOS version and call app. You don't need to include private recording contents.
The screenshots on this page use sample meeting data. Read the privacy details.